A sump pump is an effective safeguard against basement flooding, but only if it’s working correctly. Homeowners should check their sump pumps regularly to ensure proper functioning. Follow these straightforward steps to assess your sump pump and protect your home from unwanted water.
Access the Sump Pump Pit
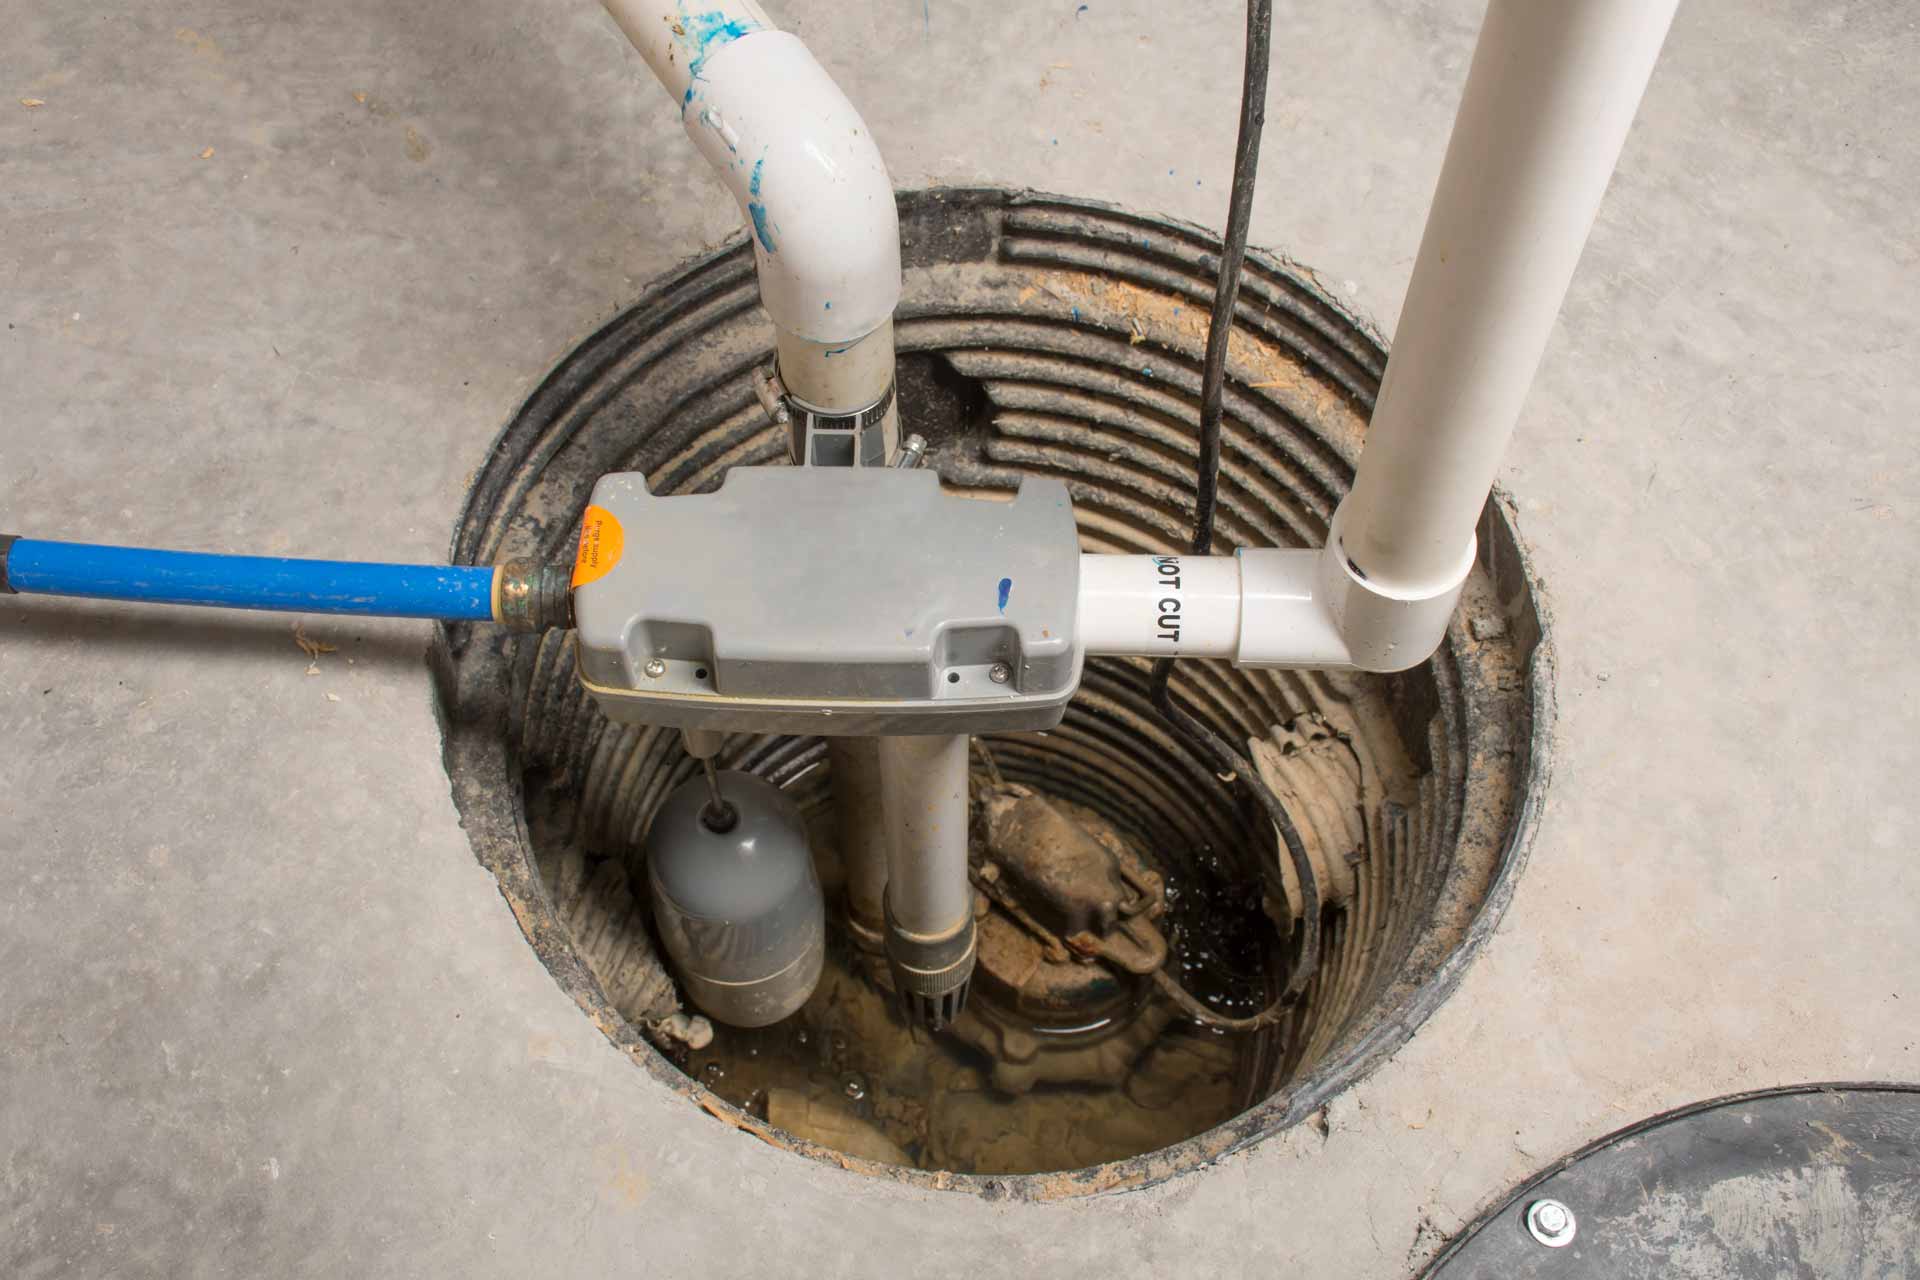
Sump pumps prevent flooding by removing excess water before it reaches floor level. The sump pump pit opens up a small space below the floor so the pump can sense and remove water as early as possible.
If your sump pump pit is covered, you’ll need to remove the lid to conduct a thorough inspection. Once you can see the area clearly, you can assess the pump and the surrounding structures.
Look for Debris and Obstructions
Debris, sediment, and other obstructions can enter the sump pump pit over time, so you should look for and remove anything that could impede proper functioning.
- First, check the pit for debris like leaves, mud, or rocks. You’ll need to remove these items, but do so with care. They may be holding back water, so work slowly and carefully to avoid sudden water flow or flooding.
- Second, check the inlet screen. The sump pump system only works if excess water can reach the pit and the sump pump through the inlet screen. The screen should be unobstructed so the pump can do its job correctly.
- Third, confirm that the float is clear of anything that could impact its movement. The float rises as water in the pit increases, signaling the pump to turn on when the water reaches a certain level. The float must have free range of movement to cue the pump to turn on at the right time.
Inspect the Pump
Once you’ve located and removed any obstructions, check the sump pump itself. If something is amiss, it’s best to find out before a flooding emergency.
- Visually inspect the pump, looking for any signs of wear and tear. If you notice anything that looks off, you may need to replace a component or the entire pump.
- Assess the “check” valve. This one-way valve ensures the pump takes in water and sends it out in the right direction. In general, this valve is marked with an arrow. The arrow should always point away from the pump.
- Inspect and clean the impeller. The impeller creates the force that moves into the discharge pipe. If it’s loose or obstructed, the pump won’t function properly.
Check the Discharge Pipe
Once you know that the pit, inlet, and pump are unobstructed, it’s time to check the discharge pipe. The biggest issue with discharge pipes tends to be placement.
Your sump pump should discharge water at least 20 feet from your home. If the sump pump system doesn’t move water far enough away, it will likely seep right back in. If your sump pump has to keep working constantly, it will wear out much more quickly.
Remember that your discharge pipe should also send excess water away from anyone else’s property. It’s no good to get rid of water from your foundation area if you cause problems for someone else.
Do a Test Run
You can do a test run once you’ve checked these different sump pump components. Fill the sump pit with water and watch how the various parts work.
If there’s an underlying issue you haven’t seen, it should manifest when you test the pump system. From there, you can fix it or call a professional for assistance.
If you need help with a sump pump or basement waterproofing in Rochester or the surrounding area, call BelowDry Basement Waterproofing today. We offer comprehensive basement waterproofing solutions that address underlying issues so your basement stays dry long-term. We’re a family-owned company with over 15 years of experience, and we’re committed to providing the best waterproofing and customer service possible. BelowDry Basement Waterproofing—Solving Your Wet Basement Problem for Good!